在之前的文章,我们学习了 Angular 中自定义 Video 操作,没有度过的读者可先了解。
现在有这么一个需求,你会怎么实现呢?
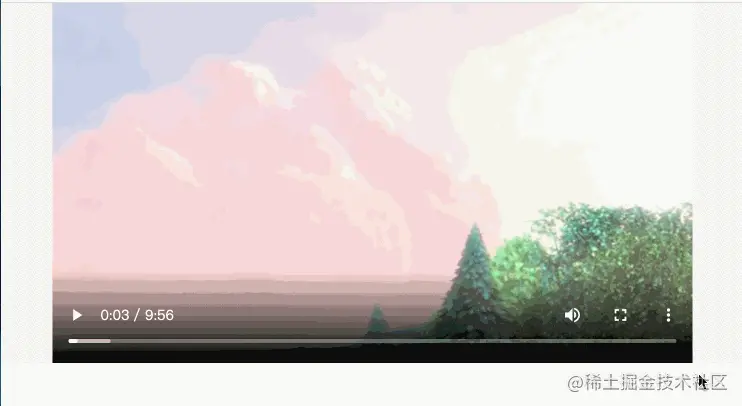
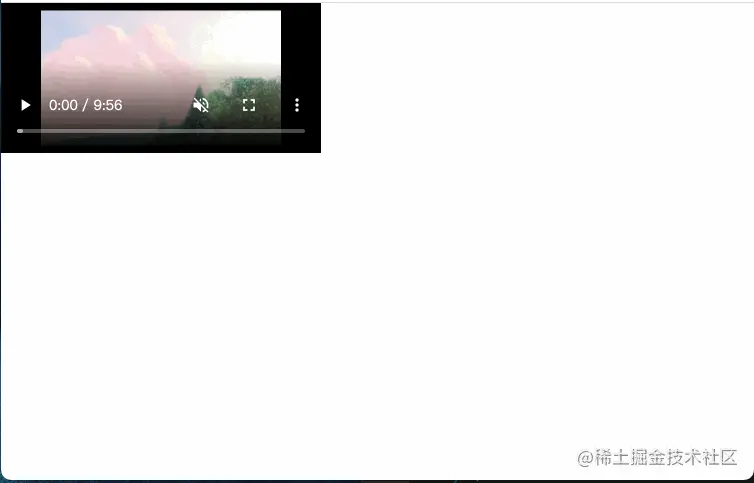
页面中 video 标签,当滚动高度超过其位置之后,将其设置为可在可视区域自由拖拽。
一个不错的 Idea,如果你使用 Angular 的 @angular/cdk/drag-drop 可以轻松实现,但是我们这里不使用工具。【相关教程推荐:《angular教程》】
好吧,我们来分析下实现的思路:
- 页面滚动高度大于视频所在的位置:那么就是视频的
bottom值相对可视窗口的值要小于0,我们需要设定一个包裹video标签的div方便计算,其高度是原设定video的高度。即元素脱离原文档布局 video元素可以拖拽,那么其定位需要被改变为fixedvideo元素在可视区内自由拖动,那么需要对其top,left值进行限定
所以我们设定下面的 demo 布局:
<div id="anchor" #anchor>
  <div class="video" id="video" #video>
    <div class="masker"></div>
    <video width="100%" height="100%" controls poster="assets/poster.png">
      <source src="../assets/demo.mp4" type="video/mp4" />
      Your browser does not support.
    </video>
  </div>
</div>
有下面这些预定的样式:
<!-- styles.scss -->
<!-- 这部分需要放在全局样式中 -->
html, body {
  height: 6000px;
  background-color: #fff;
}
<!-- demo.component.scss -->
#anchor {
height: 360px;
width: 100%;
background-color: #F0F0F0;
}
.video {
width: 640px;
height: 360px;
margin: 0 auto;
background-color: black;
<!-- video fixed 布局的样式,默认布局中是没有的 -->
&.video-fixed {
position: fixed;
top: 10px;
left: 10px;
width: 320px;
height: 150px;
cursor: all-scroll;
.masker {
display: none;
}
&:hover {
.masker {
display: block;
position: absolute;
width: 100%;
height: 100%;
background-color: rgba(0, 0, 0, 0.8);
z-index: 2;
}
}
}
}这里还引入了 rxjs 来操作。
元素脱离原文档布局
刚才已经分析了 video 元素脱离文档的临界调节了:
video 的外 div,即 #anchor 元素的相对视图的 bottom < 0。所以我们有:
@ViewChild('anchor', { static: false })
public anchor!: ElementRef;
@ViewChild('video', { static: false })
public video!: ElementRef;

public scroll!: any;

ngAfterViewInit(): void {
  this.scroll = fromEvent(document, 'scroll');
  this.scrollFn();
}

// 页面滚动
public scrollFn() {
  this.scroll
    .pipe(
      debounceTime(50), // 防抖
      map(() => this.anchor.nativeElement.getBoundindClientRect().bottom < 0)
    )
    .subscribe((flag: boolean) => {
      // 添加和移除样式
      if(flag) {
        this.video.nativeElement.classList.add('video-fixed');
      } else {
        this.video.nativeElement.classList.remove('video-fixed');
      }
    })
}
先获取 anchor 元素对象,监听页面对象 document 滚动(我们这里加入了防抖函数优化),当 bottom < 0 的时候,将相关的样式 video-fixed 添加给 video 。
元素拖拽
接下来就是实现 video 元素的拖拽。这里我们要监听 video 元素的三个事件,分别是鼠标按下 mousedown,鼠标移动 mousemove 和鼠标抬起 mouseup。
// demo.component.ts

public mouseDown!: any;
public mouseUp!: any;
public mouseMove!: any;

ngAfterViewInit(): void {
  this.mouseDown = fromEvent(this.video.nativeElement, 'mousedown'); // 目标元素按下,即 video
  this.mouseMove = fromEvent(document, 'mousemove'); // 元素在文档内移动
  this.mouseUp = fromEvent(document, 'mouseup'); // 鼠标抬起

  this.moveFn()
}

// 目标元素移动
public moveFn() {
  this.mouseDown
    .pipe(
      filter(() => this.video.nativeElement.classList.contains('video-fixed')),
      map(() => this.mouseMove.pipe(
        throttleTime(50), // 节流
        takeUntil(this.mouseUp)
      )),
      // concatAll 顺序接受上游抛出的各个数据流作为它的数据, 若前面的数据流不能同步的完结,它会暂存后续数据流,当前数据流完成后它才会订阅后一个暂存的数据流
      concatAll(),
      withLatestFrom(this.mouseDown, (move:any, down:any) => {
        return {
          x: this.validValue(move.clientX - down.offsetX, window.innerWidth - this.video.nativeElement.offsetWidth, 0),
          y: this.validValue(move.clientY - down.offsetY, window.innerHeight - this.video.nativeElement.offsetHeight, 0)
        }
      })
    )
    .subscribe((position: {
      x: number,
      y: number
    }) => {
      this.video.nativeElement.style.top = position.y + 'px';
      this.video.nativeElement.style.left = position.x + 'px';
    })
}

// 校验边界值
public validValue = (value:number, max:number, min: number) => {
  return Math.min(Math.max(value, min), max)
}
我们监听目标元素(filter 函数)被鼠标按下,然后鼠标可以在 document 范围内移动(这里用节流函数优化了下),直到监听到鼠标抬起。在移动的过程中,计算目标元素的相对可视窗口左侧和顶部的距离,将值赋予到 left 和 top。
这里的计算 move.clientX - down.offsetX, window.innerWidth - this.video.nativeElement.offsetWidth,相关的概念也许你不是很清楚,不过没关系,上面的内容,理解思路即可。相关的知识点会在接下来的文章介绍。
最后,我们得到的效果如下

【完】
更多编程相关知识,请访问:编程视频!!
以上就是浅析Angular+rxjs怎么实现拖拽功能?的详细内容,转载自php中文网


发表评论 取消回复