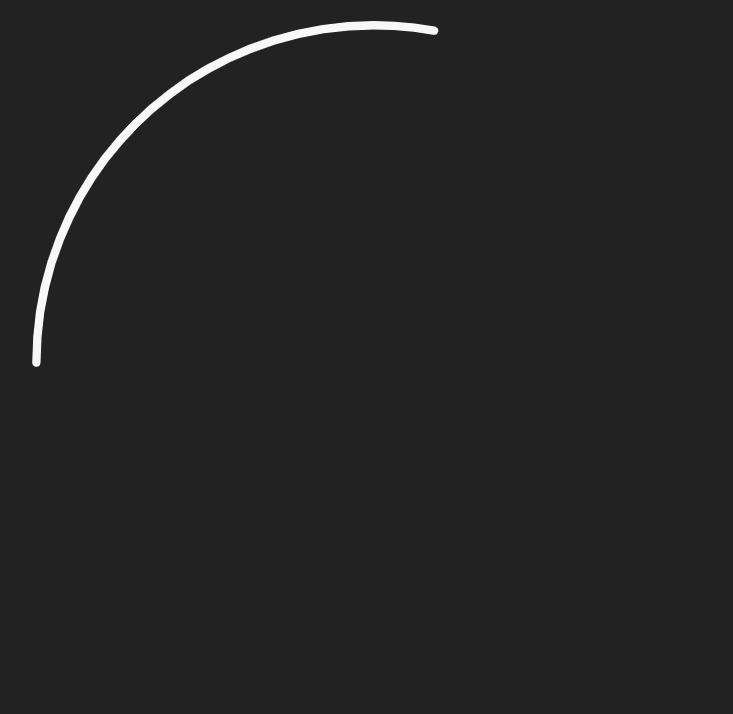
今天本文的主要内容是:利用HTML5 svg绘制出一个线条笑脸,然后使用CSS3给它添加动画效果,让它可以慢慢被画出来。光说可能大家还不明白是什么效果,我们直接来看看效果图:
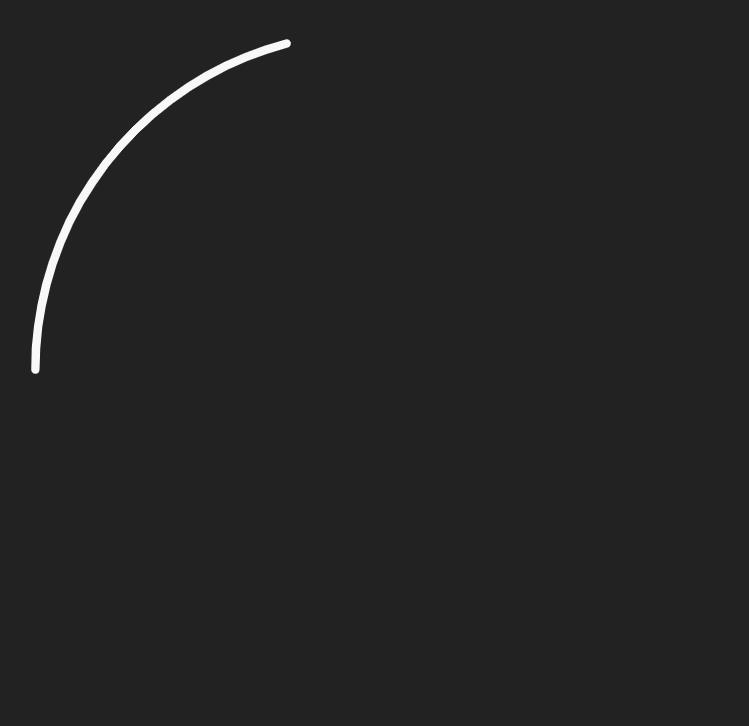
下面我们来研究一下是怎么实现这个效果的:
首先设置整个页面的背景颜色、svg画布的大小、线条的颜色、
body {
  background: #222;
  display: flex;
  height: 100vh;
  justify-content: center;
  align-items: center;
  margin: 0;
}

svg {
  display: block;
  height: 90vmin;
  width: 90vmin;
}

.stroke {
  stroke-width: 1;
  stroke: #fff;
  fill: none;
}
然后利用svg绘制出一个线条笑脸
定义svg标签,在当前文档内嵌套一个独立的svg片段
<svg viewBox="-50 -50 100 100">

</svg>
定义一个path标签,画一个圆
<svg viewBox="-50 -50 100 100">
  <path class="stroke" d="M-40 0 a 40 40 0 0 1 80 0 a 40 40 0 0 1 -80 0"></path>
</svg>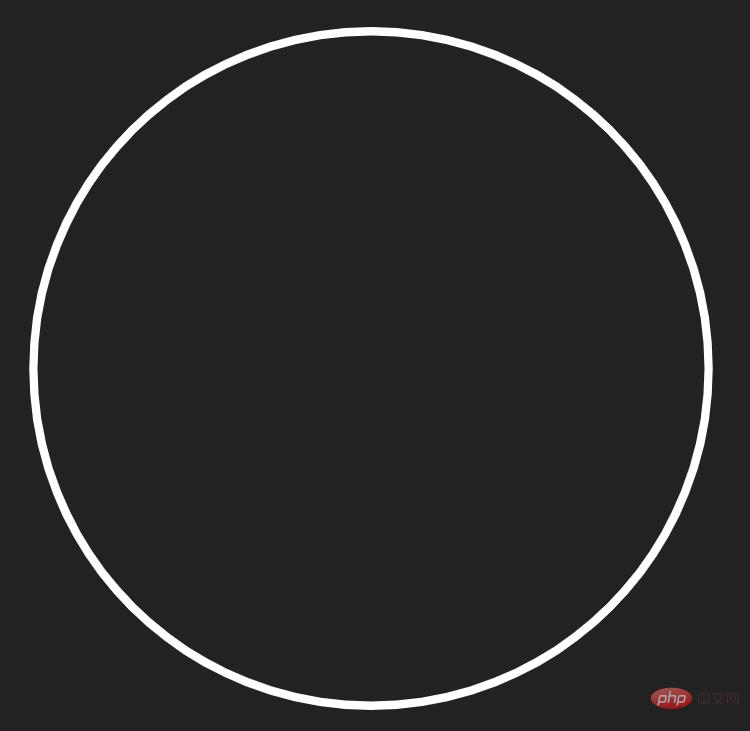
在使用path标签画左边的眼睛
<svg viewBox="-50 -50 100 100">
  <path class="stroke" d="M-40 0 a 40 40 0 0 1 80 0 a 40 40 0 0 1 -80 0"></path>
  <path class="stroke" d="M-20 -20 a 5 5 0 0 1 10 0 a 5 5 0 0 1 -10 0"></path>
</svg>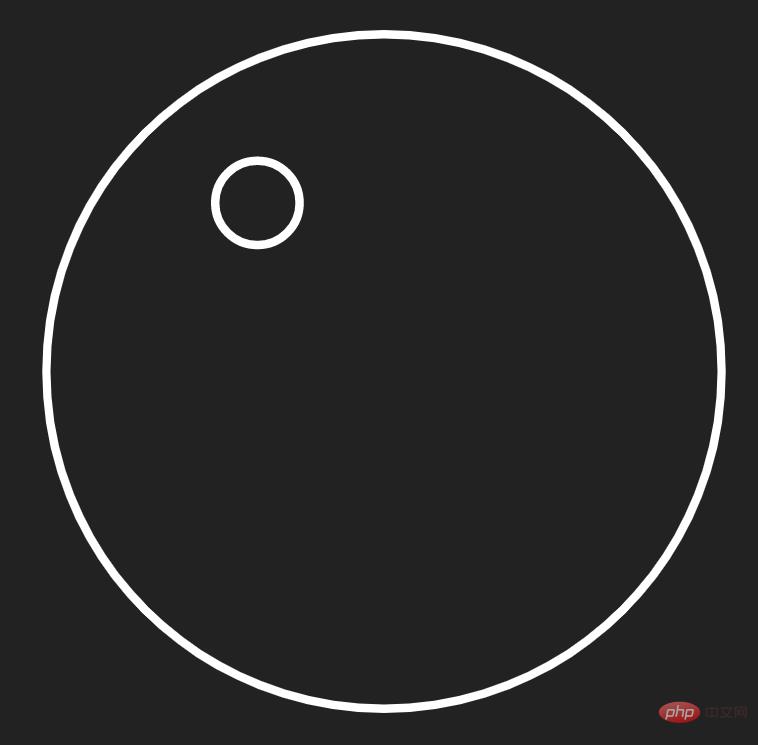
将右边的眼睛也画出来
<svg viewBox="-50 -50 100 100">
  <path class="stroke" d="M-40 0 a 40 40 0 0 1 80 0 a 40 40 0 0 1 -80 0"></path>
  <path class="stroke" d="M-20 -20 a 5 5 0 0 1 10 0 a 5 5 0 0 1 -10 0"></path>
  <path class="stroke" d="M10 -20 a 5 5 0 0 1 10 0 a 5 5 0 0 1 -10 0"></path>
</svg>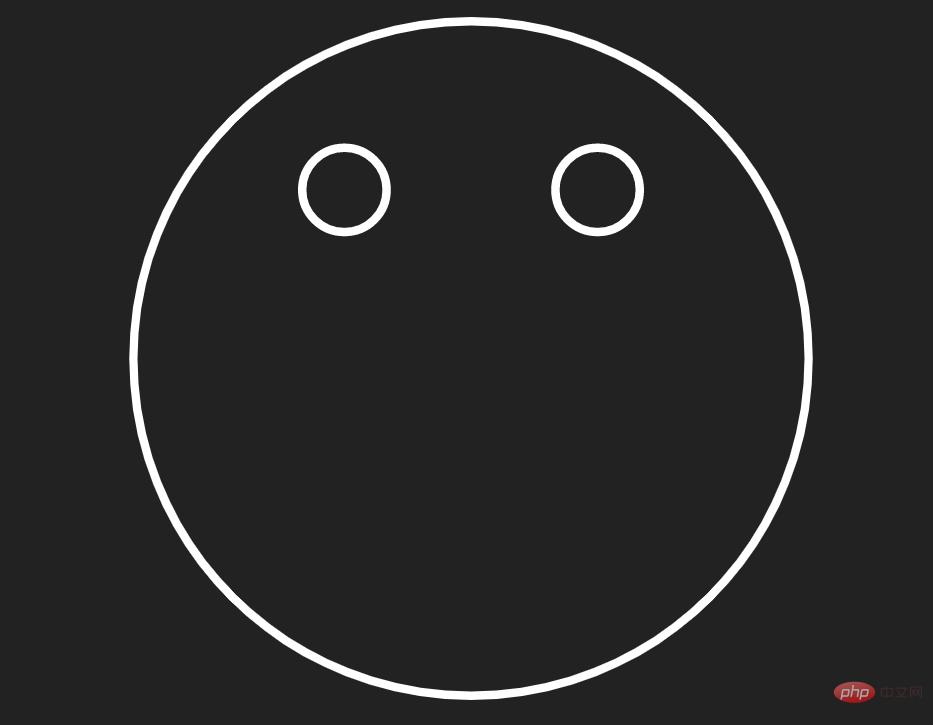
将嘴巴画出来
<svg viewBox="-50 -50 100 100">
  <path class="stroke" d="M-40 0 a 40 40 0 0 1 80 0 a 40 40 0 0 1 -80 0"></path>
  <path class="stroke" d="M-20 -20 a 5 5 0 0 1 10 0 a 5 5 0 0 1 -10 0"></path>
  <path class="stroke" d="M10 -20 a 5 5 0 0 1 10 0 a 5 5 0 0 1 -10 0"></path>
  <path class="stroke" d="M30 0 a 30 30 0 1 1 -60 0"></path>
</svg>
给.stroke元素添加一个stroke-linecaps属性,将嘴巴路径两端的形状设置为圆弧。
.stroke {
  stroke-linecap: round;
}
OK,笑脸画出来了!最后实现动画效果:
给.stroke元素绑定一个动画,然后设置stroke-dasharray和stroke-dashoffset属性,这样笑脸图案会被先隐藏起来
.stroke {
  animation: stroke-anim 2s linear forwards;
  stroke-dasharray: 300;
  stroke-dashoffset: 300;
}
使用@keyframes规则,给动画设置动作,将stroke-dashoffsets属性的值设置为0,这样笑脸图案就能慢慢显示出来
@keyframes stroke-anim {
  to {
	stroke-dashoffset: 0;
  }
}
动画效果虽然出来了,但不是我们想要的。我们需要使用animation-delay定义每一步动作的开始时间,先画出脸,再画左眼和右眼,最后画出嘴巴:
.stroke:nth-child(2) {
  animation-delay: 2s;
}
.stroke:nth-child(3) {
  animation-delay: 3s;
}

.stroke:nth-child(4) {
  animation-delay: 4s;
}

@keyframes stroke-anim {
  to {
	stroke-dashoffset: 0;
  }
}
ok,完成!下面给出完整代码:
<!DOCTYPE html>
<html>
	<head>
		<meta charset="utf-8">
		<style>
			body {
				background: #222;
				display: flex;
				height: 100vh;
				justify-content: center;
				align-items: center;
				margin: 0;
			}

			svg {
				display: block;
				height: 90vmin;
				width: 90vmin;
			}

			.stroke {
				stroke-width: 1;
				stroke: #fff;
				fill: none;
				stroke-linecap: round;
				animation: stroke-anim 2s linear forwards;
				stroke-dasharray: 300;
				stroke-dashoffset: 300;
			}

			.stroke:nth-child(2) {
				animation-delay: 2s;
			}


			.stroke:nth-child(3) {
				animation-delay: 3s;
			}


			.stroke:nth-child(4) {
				animation-delay: 4s;
			}


			@keyframes stroke-anim {
				to {
					stroke-dashoffset: 0;
				}
			}
		</style>
	</head>
	<body>
		<svg viewBox="-50 -50 100 100">
			<path class="stroke" d="M-40 0 a 40 40 0 0 1 80 0 a 40 40 0 0 1 -80 0"></path>
			<path class="stroke" d="M-20 -20 a 5 5 0 0 1 10 0 a 5 5 0 0 1 -10 0"></path>
			<path class="stroke" d="M10 -20 a 5 5 0 0 1 10 0 a 5 5 0 0 1 -10 0"></path>
			<path class="stroke" d="M30 0 a 30 30 0 1 1 -60 0"></path>
		</svg>
	</body>
</html>
大家可以直接复制以上代码,在本地进行运行演示。
这里给大家介绍几个关键的标签和属性:
<svg>元素
SVG 图像是使用各种元素创建的,这些元素分别应用于矢量图像的结构、绘制与布局。如果svg不是根元素,svg 元素可以用于在当前文档(比如说,一个HTML文档)内嵌套一个独立的svg片段 。 这个独立片段拥有独立的视口和坐标系统。
<path>路径
path元素是用来定义形状的通用元素。所有的基本形状都可以用path元素来创建。SVG <path>元素用于绘制由直线,圆弧,曲线等组合而成的高级形状,带或不带填充。该 <path>元素可能是所有元素中最先进,最通用的SVG形状。它可能也是最难掌握的元素。
animation属性和@keyframes规则
/* 定义动画*/
@keyframes 动画名称{
    /* 样式规则*/
}

/* 将它应用于元素 */
.element {
    animation-name: 动画名称(在@keyframes中已经声明好的);

    /* 或使用动画简写属性*/
    animation: 动画名称 1s ...
}
animation 属性是一个简写属性,可用于设置六个动画属性:
animation-name:规定需要绑定到选择器的 keyframe 名称。。
animation-duration:规定完成动画所花费的时间,以秒或毫秒计。
animation-timing-function:规定动画的速度曲线。
animation-delay:规定在动画开始之前的延迟。
animation-iteration-count:规定动画应该播放的次数。
animation-direction:规定是否应该轮流反向播放动画。animation-delay属性定义动画何时开始。该属性值以秒或毫秒计;允许负值,-2s 使动画马上开始,但跳过 2 秒进入动画。
:nth-child()选择器:nth-child(n) 选择器匹配父元素中的第 n 个子元素,元素类型没有限制。
n 可以是一个数字,一个关键字,或者一个公式。
萤火虫技术平台有非常多的视频教学资源,欢迎大家学习《css视频教程》《HTML视频教程》!
以上就是如何使用HTML5+CSS3动态画一个笑脸的详细内容,转载自php中文网


发表评论 取消回复