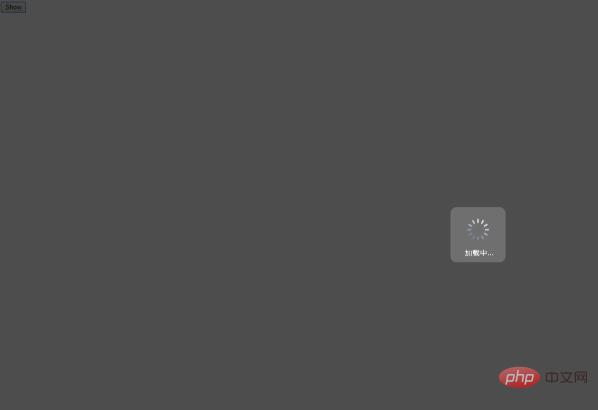
这里使用div+css的方式,加载中的图片是网上下载的动图,大家可以根据自己的需要进行修改。
(推荐教程:html教程)
实现代码:
<!DOCTYPE html>
<html>
<head>
    <title>DIV CSS遮罩层</title>
    <script language="javascript" type="text/javascript">
        function showdiv() {
            document.getElementById("bg").style.display ="block";
            /* document.getElementById("show").style.display ="block";*/
        }
        function hidediv() {
            document.getElementById("bg").style.display ='none';
            /*document.getElementById("show").style.display ='none';*/
        }
    </script>
    <style type="text/css">
        #bg{ display: none;  position: absolute;  top: 0%;  left: 0%;  width: 100%;  height: 100%;  background-color: black;  z-index:1001;  -moz-opacity: 0.7;  opacity:.70;  filter: alpha(opacity=70);}
        #show{display: none;  position: absolute;  top: 25%;  left: 22%;  width: 53%;  height: 49%;  padding: 8px;  border: 8px solid #E8E9F7;  background-color: white;  z-index:1002;  overflow: auto;}
        /*遮罩图片居中显示*/
        .zhezhao{
            position: absolute;
            top:50%;
            left: 50%;
            transform: translate(-50%,-50%);
        }
    </style>
</head>
<body>
<input id="btnshow" type="button" value="Show" onclick="showdiv();"/>
<div id="bg">
    <img class="zhezhao" src="img/timg.gif">
</div>    <!-- 遮罩层  -->
<div id="show">测试
    <input id="btnclose" type="button" value="Close" onclick="hidediv();"/>
</div>
</body>
</html>
效果:

以上就是html添加遮罩效果的详细内容,转载自php中文网


发表评论 取消回复