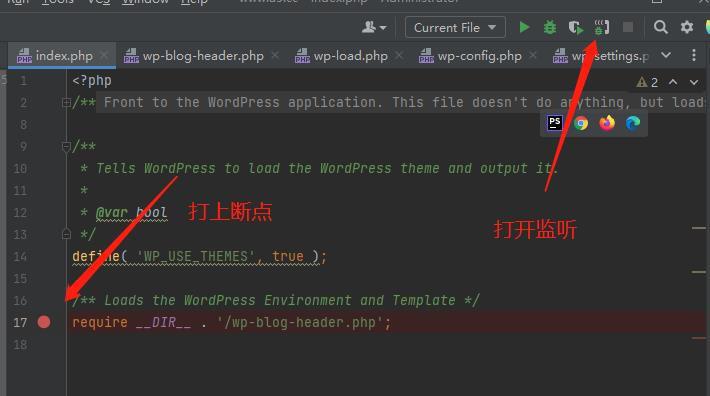
环境:win10+phpstorm2022+phpstudy8+lnmp
1、phpinfo(); 查看是否安装xdebug,没有走以下流程
2、phpstudy中切换不同版本php版本,有些版本不支持xdebug(如php8.0.2),有些已经自带了(如php7.3.9)。已经自带的只需要在php.ini中调用
php.ini配置文档
[Xdebug]
zend_extension=D:/phpstudy_pro/Extensions/php/php7.3.9nts/ext/php_xdebug.dll
xdebug.idekey=phpstorm
xdebug.remote_enable = On
xdebug.remote_host=localhost
;xdebug.remote_port 默认值为9000,这里需要跟phpstorm配置一致,下面有说明
xdebug.remote_port=9000
xdebug.remote_handler=dbgp
xdebug.auto_trace = On
3、检测当前php版本应该下载什么xdebug.dll的工具,它会提示应该下载哪个php版本,以及安装配置步骤:Xdebug: Support — Tailored Installation Instructions
4、配置phpstorm


5、配置chome


6、开始调试

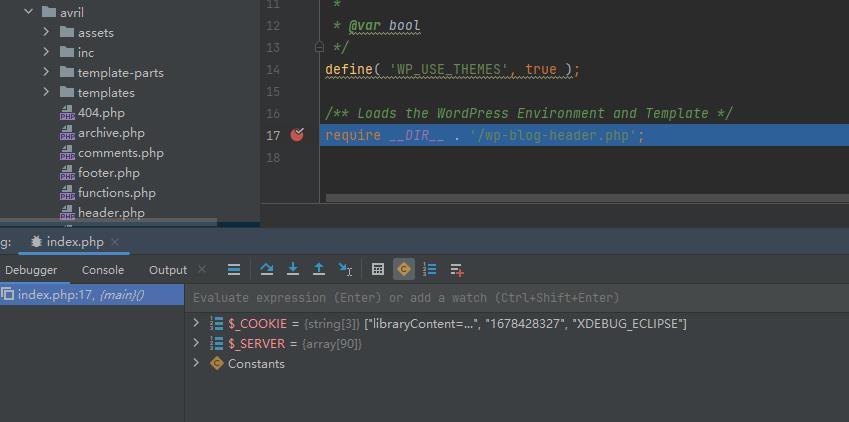
刷新浏览器网页,出现以下对勾,表示配置成功

按F7,程序会一步一步往下走,碰到函数的话,会跳转到该函数。
按F8,在当前代码页一行一行的往下走,碰到函数不会跳转。
按F9,从某个断点跳到另一行处断点。
您可能感兴趣的文章:
- Vagrant(WSL)+PHPStorm+Xdebu 断点调试环境搭建
- PhpStorm本地断点调试的方法步骤
- Phpstorm+Xdebug断点调试PHP的方法
- 解析phpstorm + xdebug 远程断点调试
- PHPStorm+Xdebug进行emote Debug时无法进入断点问题排查
- phpstorm配置Xdebug进行调试PHP教程
- PHPStorm+XDebug进行调试图文教程
- 使用PHPStorm+XDebug搭建单步调试环境
- PhpStorm 如何优雅的调试Hyperf的方法步骤
- PhpStorm配置Xdebug调试的方法步骤
- 使用phpstorm和xdebug实现远程调试的方法
- 图文详解phpstorm配置Xdebug进行调试PHP教程


发表评论 取消回复