一、引入mqtt库
git地址:https://github.com/bluerhinos/phpMQTT
我这边没用composer引入,直接把库里面的phpMQTT.php代码复制出来,改了个名字叫MqttNewService
二、thinkphp6.0创建一个接收数据的脚本
1、创建一个自定义命令类文件,运行指令
php think make:command Mqtt mqtt
2、配置config/console.php文件
<?phpreturn [
    // 指令定义
    'commands' => [
        'mqtt' => 'app\command\Mqtt'
    ],
];
三、用到的php函数
bin2hex() 函数把 ASCII 字符的字符串转换为十六进制值。字符串可通过使用 pack() 函数再转换回去。
pack() 函数把数据装入一个二进制字符串。
因为我这边是和硬件通信,所有消息都是16进制的,所以需要用的这两个函数,如果你的业务使用string或者json,那就不需要使用这两个函数了,可以把下面代码里面对应的函数删掉
四、订阅接收消息
<?phpnamespace app\command;use think\console\Command;
use think\console\Input;
use think\console\Output;
use app\common\service\MqttNewService;class Mqtt extends Command
{
    protected function configure()
    {
        // 指令配置
        $this->setName('mqtt')
            ->setDescription('the mqtt command');
    }    protected function execute(Input $input, Output $output)
    {
        $this->subscribe();
    }    //订阅接收消息
    protected function subscribe()
    {
        $server   = 'xx.com';
        $port     = 1883;
        $clientId = 'test_emqx'. rand(1000000, 99999999);
        $topic    = "test-mqtt-12345";
        $username = "";
        $pwd      = "";        $mqtt = new MqttNewService($server, $port, $clientId);
        if(!$mqtt->connect(true, NULL, $username, $pwd)) {
            exit(1);
        }        $mqtt->debug = true;        $topics[$topic] = array('qos' => 0, 'function' => array($this,"procMsg"));
        $mqtt->subscribe($topics, 0);        while($mqtt->proc()) {        }        $mqtt->close();
    }    function procMsg($topic, $msg){
        $msg = bin2hex($msg);
        echo $msg. "\n";
    }
}
在项目下使用php think mqtt将这个脚本运行起来,然后用MQTTX软件发送消息进行测试MQTTX是用来测试mqtt的软件,下载地址:https://www.emqx.com/zh/products/mqttx

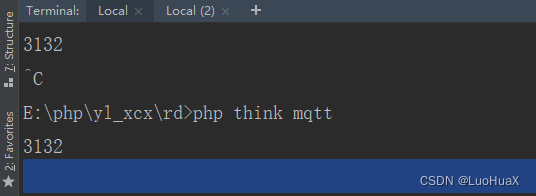
可以看到脚本已经接收到了数据
五、发布消息
    //发布消息
    public function publish()
    {
        $msg = input('msg');
        $server = 'xx.com';
        $port = 1883;
        $username = '';
        $password = '';
        $clientId = 'test_emqx'. rand(1000000, 99999999);        $mqtt = new MqttNewService($server, $port, $clientId);        if ($mqtt->connect(true, NULL, $username, $password)) {
            $mqtt->publish('test-mqtt-12345', pack('H*',$msg), 0, false);
            $mqtt->close();
        } else {
            echo "Time out!\n";
        }
    }
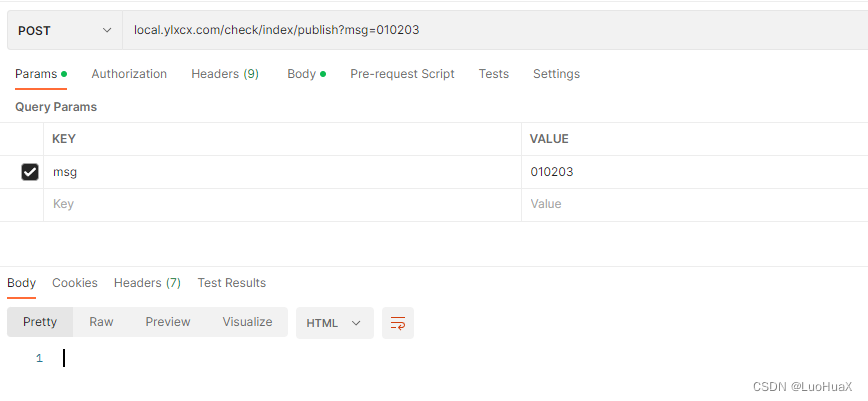
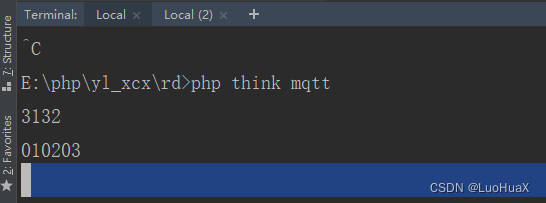
使用postman测试这个接口,正常收到了数据,如有问题,可以下面留言



发表评论 取消回复