
为什么会有这个想法
在管理后台开发过程中,涉及到太多的弹窗业务弹窗,其中最多的就是“添加XX数据”,“编辑XX数据”,“查看XX详情数据”等弹窗类型最多。【相关推荐:vuejs视频教程、web前端开发】
这些弹窗组件的代码,很多都是相同的,例如组件状态,表单组件相关的方法...
于是,我简单地对Dialog组件进行的二次封装和hooks,减少了一些重复的代码
要封装什么
如果是普通弹窗使用的话,直接使用el-dialog组件已经足够了
但我还是一个比较爱折腾的人,我们先看看官方dialog文档有什么可以添加的功能
...
大概看了一下,我打算封装一下功能
- 提供全屏操作按钮(右上角)
- 默认提供“确认”,“关闭”按钮
- 内部添加
Loading效果
封装Dialog
确定了要封装的功能之后,先来一个简单的dialog组件。
把双向绑定处理一下,这样外部就可以直接通过v-model直接控制弹窗了。
<template>
    <el-dialog :model-value="props.modelValue"></el-dialog>
</template>
<script setup>
interface PropsType {
  modelValue?: boolean;
}

const props = withDefaults(defineProps<PropsType>(), {
  modelValue: false,
});

const emits = defineEmits<{
  (e: "update:modelValue"): void;
}>();
</script>登录后复制
header
这里使用到图标库@element-plus/icons-vue
如没有安装,请执行npm install @element-plus/icons-vue
使用el-dialog提供的header插槽,将全屏图表和关闭图标放置到右上角中。给el-dialog传递show-close属性关闭默认图标。
<template>
  <el-dialog :model-value="props.modelValue" :show-close="false">
    <template #header>
      <div>
        <span>{{ props.title }}</span>
      </div>
      <div>
        <el-icon><FullScreen /></el-icon>
        <el-icon><Close /></el-icon>
      </div>
    </template>
  </el-dialog>
</template>
<script setup>
import { FullScreen, Close } from "@element-plus/icons-vue";
</script>
<style scoped>
// 处理样式
:deep(.el-dialog__header) {
  border-bottom: 1px solid #eee;
  display: flex;
  padding: 12px 16px;
  align-items: center;
  justify-content: space-between;
  margin: 0;
}
.dialog-title {
  line-height: 24px;
  font-size: 18px;
  color: #303133;
}
.btns {
  display: flex;
  align-items: center;
  i {
    margin-right: 8px;

    font-size: 16px;
    cursor: pointer;
  }
  i:last-child {
    margin-right: 0;
  }
}
</style>登录后复制弹窗的标题文字内容通过props进行传递,默认为空('')
<script lang="ts" setup>
interface PropsType {
  // 忽略之前的代码
  title?: string;
}

const props = withDefaults(defineProps<PropsType>(), {
  title: "",
});

</script>登录后复制我们看看现在头部的效果(这里没传入标题,默认为'')
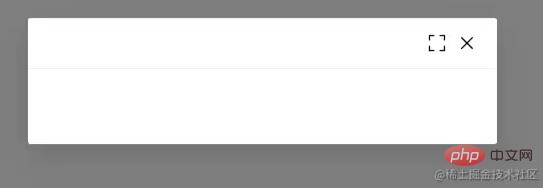
现在这个按钮只有样式效果,还没有写上对应的功能 ~
给他们先绑定上对应的事件和指令
<template>
    <el-dialog
    :model-value="props.modelValue"
    :show-close="false"
    :fullscreen="attrs?.fullscreen ?? isFullscreen"
    >
        <template #header>
        <div>
            <span class="dialog-title">{{ props.title }}</span>
        </div>
        <div class="btns">
            <el-icon v-if="isFullScreenBtn" @click="handleFullscreen"
            ><FullScreen
            /></el-icon>
            <el-icon @click="handleClose"><Close /></el-icon>
        </div>
        </template>
    </el-dialog>
</template>
<script setup lang="ts">
import { FullScreen, Close } from "@element-plus/icons-vue";

interface PropsType {
  title?: string;
  modelValue?: boolean;
  hiddenFullBtn?: boolean;
}

const props = withDefaults(defineProps<PropsType>(), {
  title: "",
  modelValue: false,
  hiddenFullBtn: false,
});

const emits = defineEmits<{
  (e: "update:modelValue"): void;
  (e: "close"): void;
}>();

// 当前是否处于全屏状态
const isFullscreen = ref(false);
// 是否显示全屏效果图标
const isFullScreenBtn = computed(() => {
  if (props.hiddenFullBtn) return false;
  if (attrs?.fullscreen) return false;
  return true;
});

// 开启、关闭全屏效果
const handleFullscreen = () => {
  if (attrs?.fullscreen) return;
  isFullscreen.value = !isFullscreen.value;
};

// 关闭弹窗时向外部发送close事件
const handleClose = () => {
  emits("close");
};
</script>登录后复制
再点击下全屏图标看看效果怎么样

NICE 头部功能也就完成了
Footer
接下来,再处理下底部内容,默认提供两个按钮,分别是“确定”和“关闭”,这个名称也是可以通过props属性修改的。
两个按钮绑定点击事件,向外发送不同的事件。
<template>
  <div class="">
    <el-dialog
      v-bind="attrs"
      :model-value="props.modelValue"
      :show-close="false"
      :fullscreen="attrs?.fullscreen ?? isFullscreen"
    >
      <template #footer>
        <!-- 如果没有提供其他footer插槽,就使用默认的 -->
        <span v-if="!slots.footer" class="dialog-footer">
          <el-button type="primary" @click="handleConfirm">{{
            props.confirmText
          }}</el-button>
          <el-button @click="handleClose">{{ props.cancelText }}</el-button>
        </span>
        <!-- 使用传入进来的插槽 -->
        <slot v-else name="footer"></slot>
      </template>
    </el-dialog>
  </div>
</template>
<script setup lang="ts">
import { useSlots } from "vue";
// 获取插槽
const slots = useSlots();
interface PropsType {
    title?: string;
    width?: string | number;
    isDraggable?: boolean;
    modelValue?: boolean;
    hiddenFullBtn?: boolean;
    confirmText?: string;
    cancelText?: string;
}

const props = withDefaults(defineProps<PropsType>(), {
    title: "",
    isDraggable: false,
    modelValue: false,
    hiddenFullBtn: false,
    confirmText: "确认",
    cancelText: "关闭",
});
const handleClose = () => {
    emits("close");
};
const handleConfirm = () => {
    emits("confirm");
};
</script>登录后复制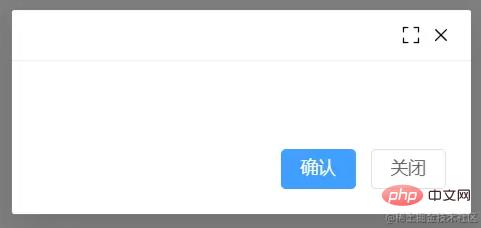
又搞定了一部分了,就剩下Content了 ~
Content
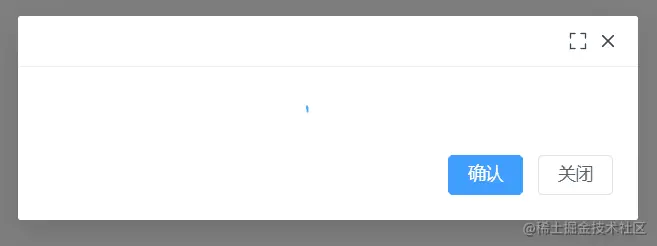
弹窗内容通过默认插槽的方式传入进来,在外层的div元素上添加v-loading标签,实现加载态。
如果你想整个弹窗实现loading效果,请把v-loading移到最外层元素即可。 注意不能是el-dialog元素上,否则无法实现 可能是el-dialog使用了teleport组件,导致v-loading无法正常工作。 等有空研究一下 ~
<template>
  <div class="">
    <el-dialog
      v-bind="attrs"
      :model-value="props.modelValue"
      :show-close="false"
      :fullscreen="attrs?.fullscreen ?? isFullscreen"
    >
        <div class="content" v-loading="props.loading">
            <slot></slot>
        </div>
    </el-dialog>
  </div>
</template>
<script lang="ts" setup>
interface PropsType {
  loading?: boolean;
}

const props = withDefaults(defineProps<PropsType>(), {
  loading: false,
});

</script>登录后复制试试看中间的loading效果
剩下一些细节处理
在el-dialog组件提供了很多个props属性供用户选择,但我们现在封装的dialog组件只使用到了一小部分props属性。当用户想要使用其他的props属性时该怎么办?
例如使用width属性时,难道要在我们封装的组件中接收props.width再传递给<el-dialog :width="props.width" />组件吗?
不不不,还有另外一种方法,还记得刚刚在做全屏操作的时候使用到的useAttrs辅助函数吗
它可以获取当前组件传递进来的属性。有了这个方法之后,再配合并即可将外部传递进来的函数再传递到el-dialog组件上面啦
<el-dialog
    v-bind="attrs"
    :model-value="props.modelValue"
    :show-close="false"
    :fullscreen="attrs?.fullscreen ?? isFullscreen"
    :before-close="handleClose"
>
    <!-- 忽略其他代码 -->
</el-dialog>登录后复制
为了避免内部传递的props被覆盖掉,
v-bind="attrs"需要放在最前面
在使用时,可能会给before-close属性传递一个函数,但到了后面被内部的handleClose方法给覆盖掉了。
解决方案是在handleClose函数中,获取attrs.['before-close']属性,如果类型是函数函数,先执行它。
const handleClose = () => {
  if (
    Reflect.has(attrs, "before-close") &&
    typeof attrs["before-close"] === "function"
  ) {
    attrs["before-close"]();
  }
  emits("close");
};登录后复制有关于el-dialog组件的封装就到这里了
封装hooks
利用Vue composition Api再封装一下在使用el-dialog组件状态的管理hook
useDialog
简单处理显示和加载态开关的hook
import { ref } from "vue";

export default function useDialog() {
  const visible = ref(false);
  const loading = ref(false);
  const openDialog = () => (visible.value = true);
  const closeDialog = () => (visible.value = false);
  const openLoading = () => (loading.value = true);
  const closeLoading = () => (loading.value = false);
  return {
    visible,
    loading,
    openDialog,
    closeDialog,
    openLoading,
    closeLoading,
  };
}登录后复制
useDialog Demo
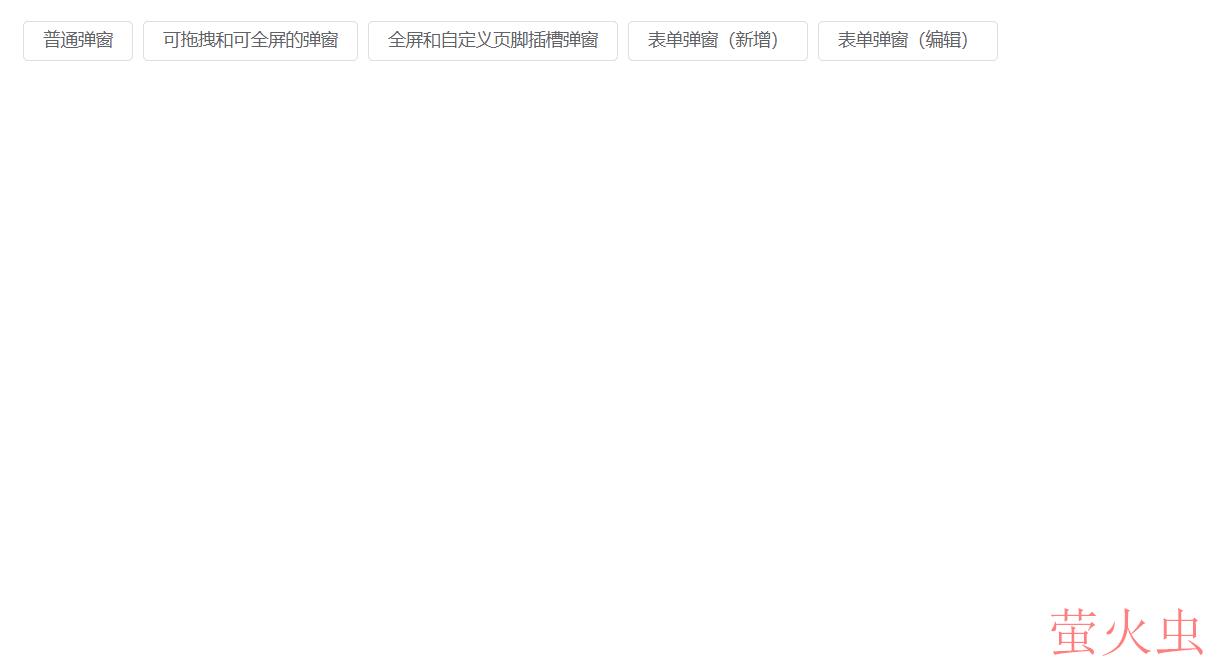
<template>
<el-button @click="openDialog1">普通弹窗</el-button>
<DialogCmp
  title="DialogCmp1"
  :hiddenFullBtn="true"
  v-model="visible1"
  @confirm="handleConfirm"
  @close="handleClose"
>
  <h3>DialogCmp1</h3>
</DialogCmp>
</template>
<script setup lang="ts">
import useDialog from "./components/useDialog";
import DialogCmp from "./components/Dialog.vue";

const {
  visible: visible1,
  openDialog: openDialog1,
  closeDialog: closeDialog1,
} = useDialog();
</script>登录后复制
useDialogState 和 useDialogWithForm
useDialogState
针对开发管理后台弹窗状态封装的一个hook,搭配下面的useDialogWithForm使用。
export enum MODE {
  ADD,  EDIT,
}登录后复制
import { ref } from "vue";
import { MODE } from "./types";
export default function useDialogState() {
const mode = ref<MODE>(MODE.ADD);
const visible = ref(false);
const updateMode = (target: MODE) => {
mode.value = target;
};
return { mode, visible, updateMode };
}登录后复制useDialogWithForm
针对表单弹窗组件封装的hooks,接收一个formRef实例,负责控制弹窗内标题及清空表单中的校验结果,减少多余的代码 ~
import { FormInstance } from "element-plus";
import { Ref, ref } from "vue";
import { MODE } from "./types";
import useDialogState from "./useDialogState";

export default function useDialogFn(
  formInstance: Ref<FormInstance>
) {
  const { visible, mode, updateMode } = useDialogState();

  const closeDialog = () => {
    formInstance.value.resetFields();
    visible.value = false;
  };
  const openDialog = (target: MODE) => {
    updateMode(target);
    visible.value = true;
  };
  return { visible, mode, openDialog, closeDialog };
}登录后复制
useDialogWithForm Demo
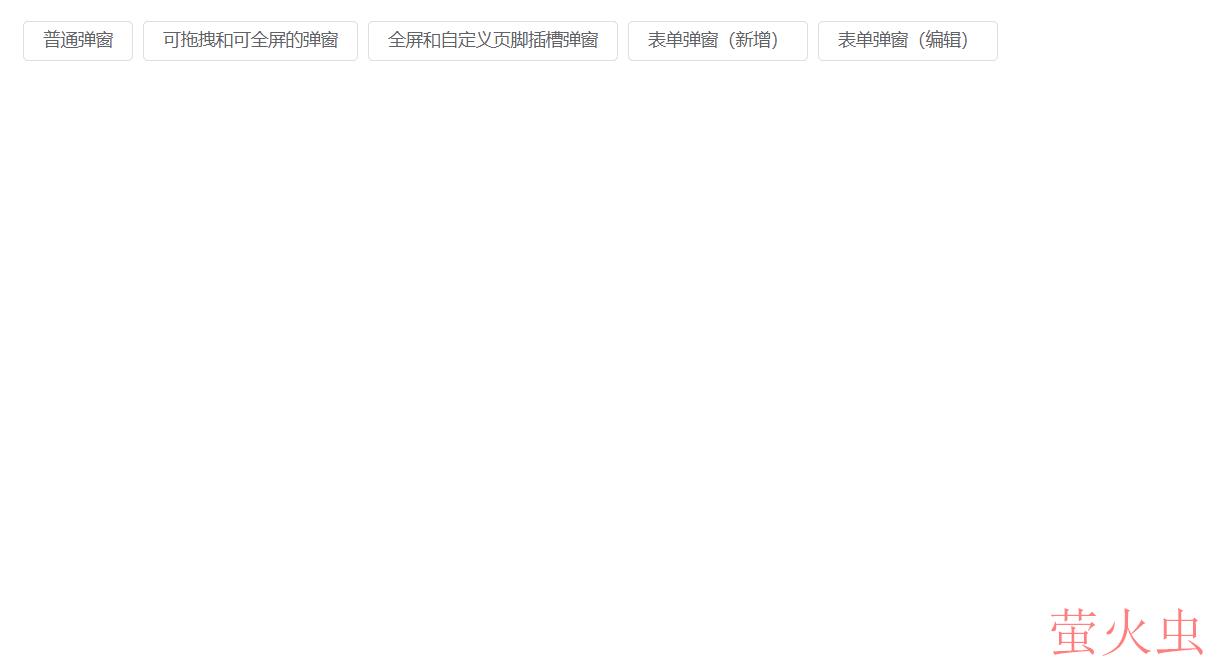
<template>
  <Dialog
    :before-close="customClose"
    @confirm="confirm"
    v-model="visible"
    :title="mode == MODE.ADD ? '添加数据' : '编辑信息'"
    :confirm-text="mode == MODE.ADD ? '添加' : '修改'"
  >
    <el-form
      label-width="100px"
      :model="formData"
      ref="formDataRef"
      style="max-width: 460px"
      :rules="rules"
    >
      <el-form-item label="姓名" prop="name">
        <el-input v-model="formData.name" />
      </el-form-item>
      <el-form-item label="年龄" prop="age">
        <el-input v-model="formData.age" />
      </el-form-item>
      <el-form-item label="手机号码" prop="mobile">
        <el-input v-model="formData.mobile" />
      </el-form-item>
    </el-form>
  </Dialog>
</template>
<script setup>
import { ElMessage, FormInstance } from "element-plus";
import { Ref, ref } from "vue";
import Dialog from "./Dialog.vue";
import { MODE } from "./types";
import useDialogWithForm from "./useDialogWithForm";

const rules = {
  name: {
    type: "string",
    required: true,
    pattern: /^[a-z]+$/,
    trigger: "change",
    message: "只能是英文名称哦",
    transform(value: string) {
      return value.trim();
    },
  },
  age: {
    type: "string",
    required: true,
    pattern: /^[0-9]+$/,
    trigger: "change",
    message: "年龄只能是数字哦",
    transform(value: string) {
      return value.trim();
    },
  },
  mobile: {
    type: "string",
    required: true,
    pattern:
      /^(?:(?:\+|00)86)?1(?:(?:3[\d])|(?:4[5-79])|(?:5[0-35-9])|(?:6[5-7])|(?:7[0-8])|(?:8[\d])|(?:9[189]))\d{8}$/,
    trigger: "change",
    message: "请输入正确的手机号码",
    transform(value: string) {
      return value.trim();
    },
  },
};

interface FromDataType {
  name: string;
  age: string;
  mobile: string;
}

const formDataRef = ref<FormInstance | null>(null);

let formData = ref<FromDataType>({
  name: "",
  age: "",
  mobile: "",
});

const { visible, closeDialog, openDialog, mode } = useDialogWithForm(
  formDataRef as Ref<FormInstance>
);
const confirm = () => {
  if (!formDataRef.value) return;
  formDataRef.value.validate((valid) => {
    if (valid) {
      console.log("confirm");
      ElMessage({
        message: "提交成功",
        type: "success",
      });
      closeDialog();
    }
  });
};

const customClose = () => {
  ElMessage({
    message: "取消提交",
    type: "info",
  });
  closeDialog();
};
defineExpose({
  closeDialog,
  openDialog,
});
</script>
<style scoped></style>登录后复制
仓库地址
useDialog
在线demo地址
如果您觉得本文对您有帮助,请帮帮忙点个star
您的反馈 是我更新的动力!
(学习视频分享:vuejs入门教程、编程基础视频)
以上就是聊聊Vue3+hook怎么写弹窗组件更快更高效的详细内容,转载自php中文网




发表评论 取消回复